So here are my tips to creating a customized welcome page with out having to know any codes!
There are only 9 steps, but if you have never done this before, it can be a little time consuming.
Step 1: Photoshop. If you don’t have it, download it. You can download a 30 day free trial of Photoshop Elements 9.
Step 2: Once you have installed and opened Photoshop, go to file and click open. Find files with pictures you want to use for your custom content. As you can see, I have opened several pictures that I wish to use, including the orange/yellow background picture.

Step 3: Drag and drop your pictures in what ever order you like and arrange them on your background.

Step 4: Add text. On the left hand side of your screen is the text button; push it and create your text box. Write a brief description of who you are and what you do. I also created text boxes under my pictures to write our names. Save your work.

Step 5: Upload your work to Photobucket. If you don’t have a Photobucket account, create one.
Step 6: Open Facebook and in the search bar type in Static FBML. Click Add to my page. Go to your page and click edit page and then click on applications. You should see Static FBML listed as an application, click Go to Application. Here you will have the opportunity to name your tab. Welcome, works well.

Step 7: Go back to Photobucket and click on the image you wish to use as your custom content. On the left side of the screen you will see a box that says: Share this Image. Click on and copy the HTML Code.

Step 8: Time to add dimensions to your code. For now, paste your code into a word document. At the beginning of the code add this:
div style="TEXT-ALIGN: center; WIDTH: 596px; MARGIN-LEFT: auto; MARGIN-RIGHT: auto"
Add: <
in front of div
add: >
at the end of auto". I can't do this because it centers all my text.
Now look at the last line of code and delete the piece that says:
alt="Photobucket">
Now add this piece of code to the end:
width="455" height="768" alt="" />
If these dimensions don’t work for you, change them around.
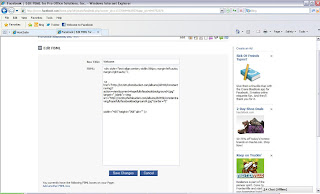
Step 9: In the Static FBML application, copy and paste your code into the box. And hit save.

No comments:
Post a Comment